Hello friends!
Today I'm popping in to share my June creations for Blue Fern Studios, featuring another beautiful collection from Michelle Singh - Attic Charm! The papers are decked in so many gorgeous subtle details and pretty colors, not to mention reminders of the good ole days that I went to dig out old photos of my parents for the two projects I've made.
First is a layout of a photo of my folks when they were dating back in '73.
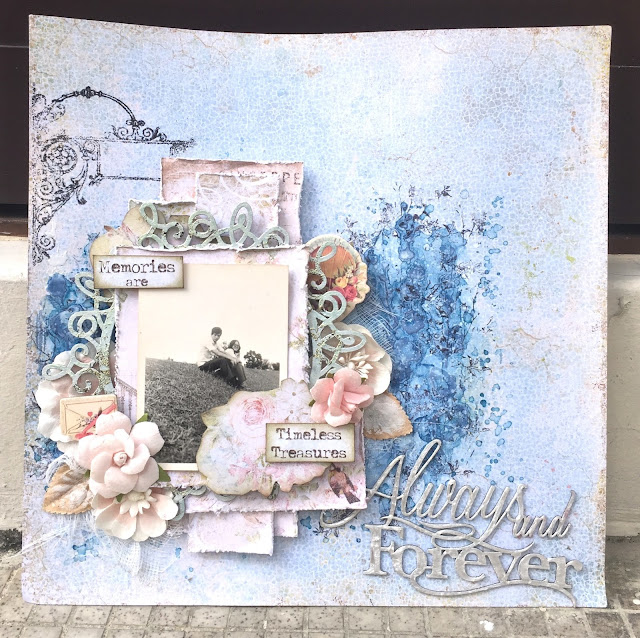
When I saw the b/w photo, I had tried to imagine what it would have looked like in color and all that came to mind was the blue sky. So I had built most of the layout around the color and chose the paper "Haberdashery" as my background paper.
More details in the close-ups:
Some bits of the Looped Frame chipboard here. I had stamped with Romantic Accents stamp and heat embossed with Imagine Ink Ebony EP before painting over with duo-toned acrylic paint.
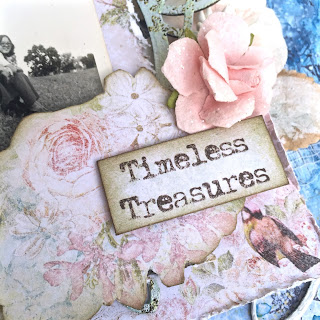
Fussy cut flowers for layering, and subtitles from Calling Cards.

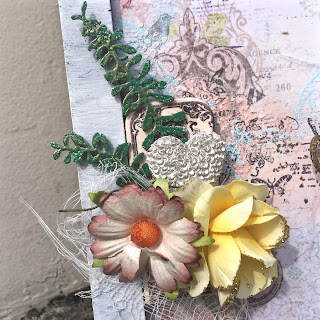
A heat-embossed image with Ebony EP using one of the Bourbon Street stamps. Love the details here!
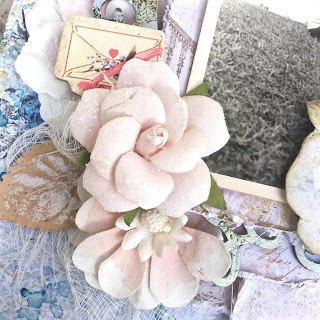
Another view of the floral cluster.

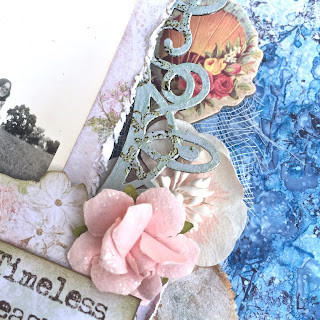
My title piece "Always and Forever" which I had painted with Perfect Pearls.
Blue Fern Studios products used:
paper: Attic Charm - Haberdashery, Calling Cards, Generation, Mercantile, Sachet
chipboard: Looped Frames, Always and Forever
stamps: Bourbon Street, Romantic Accents
Embossing powder: Ebony
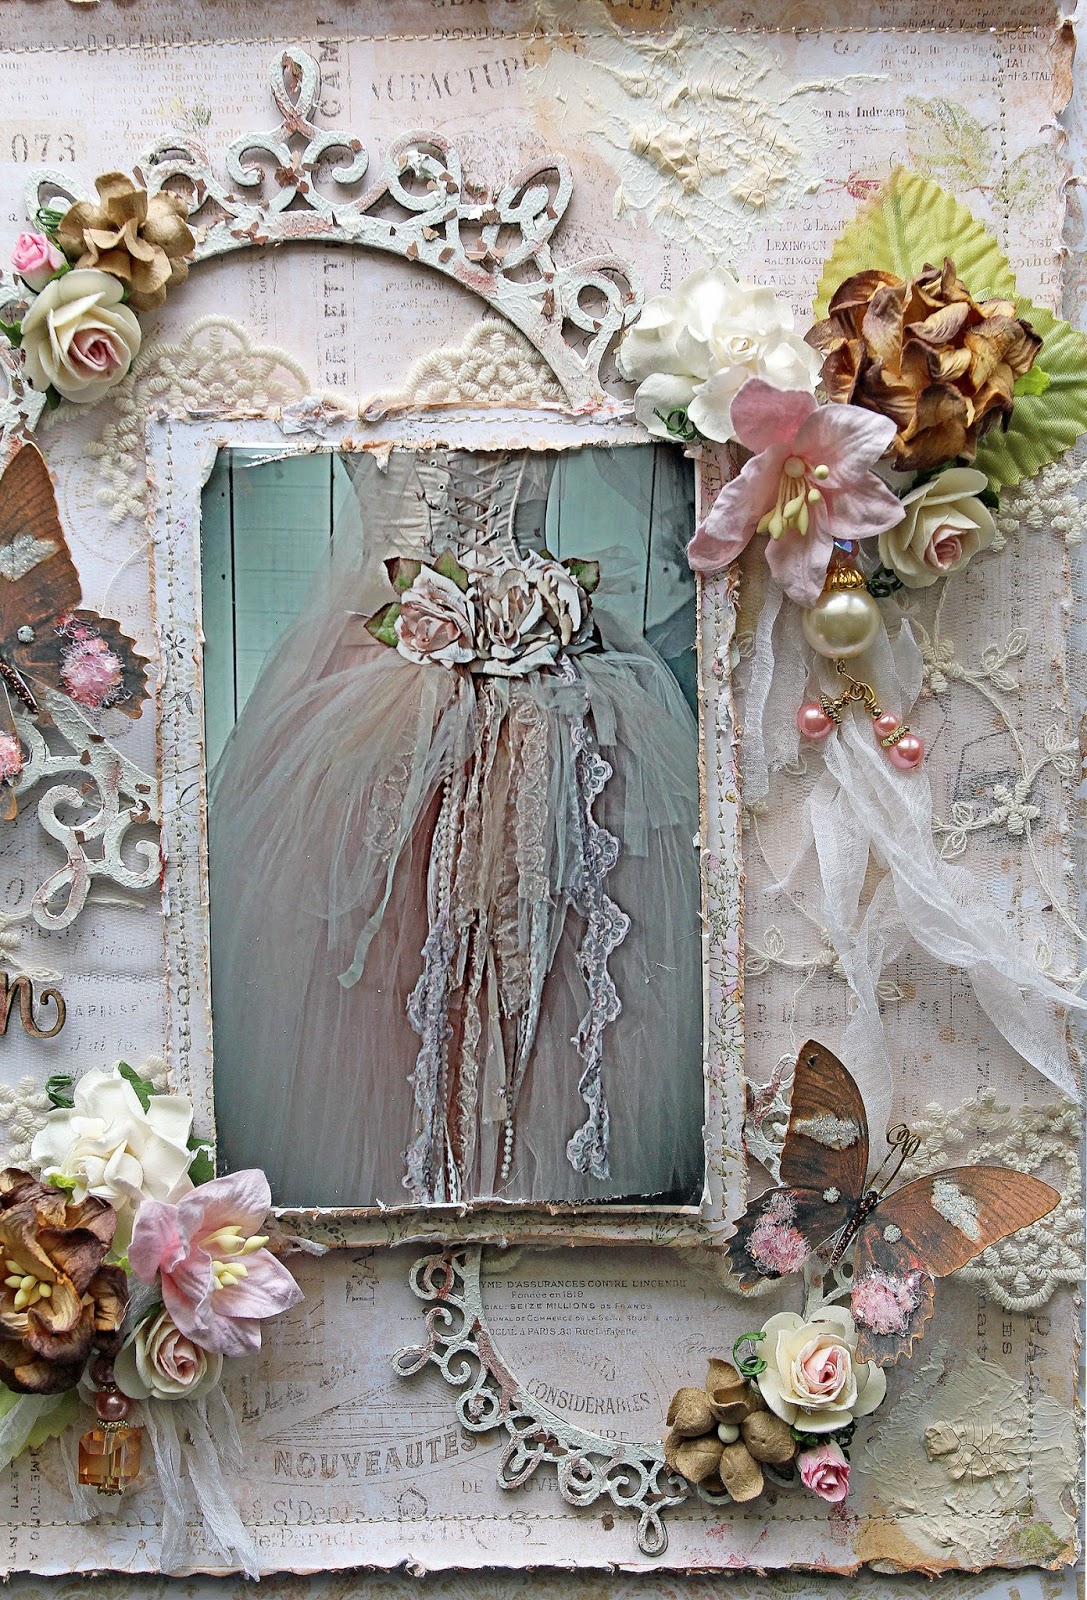
My second project is a video tutorial and I've repurposed an IKEA photo frame for the project. My parents don't have a lot of their photos on display so I hope they will find a good place to put this up.

Other details in the close-ups:
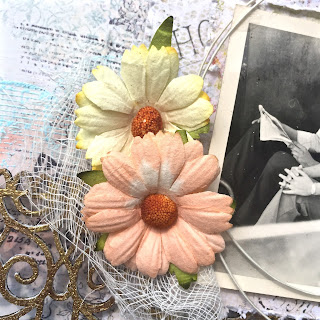
Attic Charm daisies are the perfect addition.

The die cut clock with lots of details in the background.

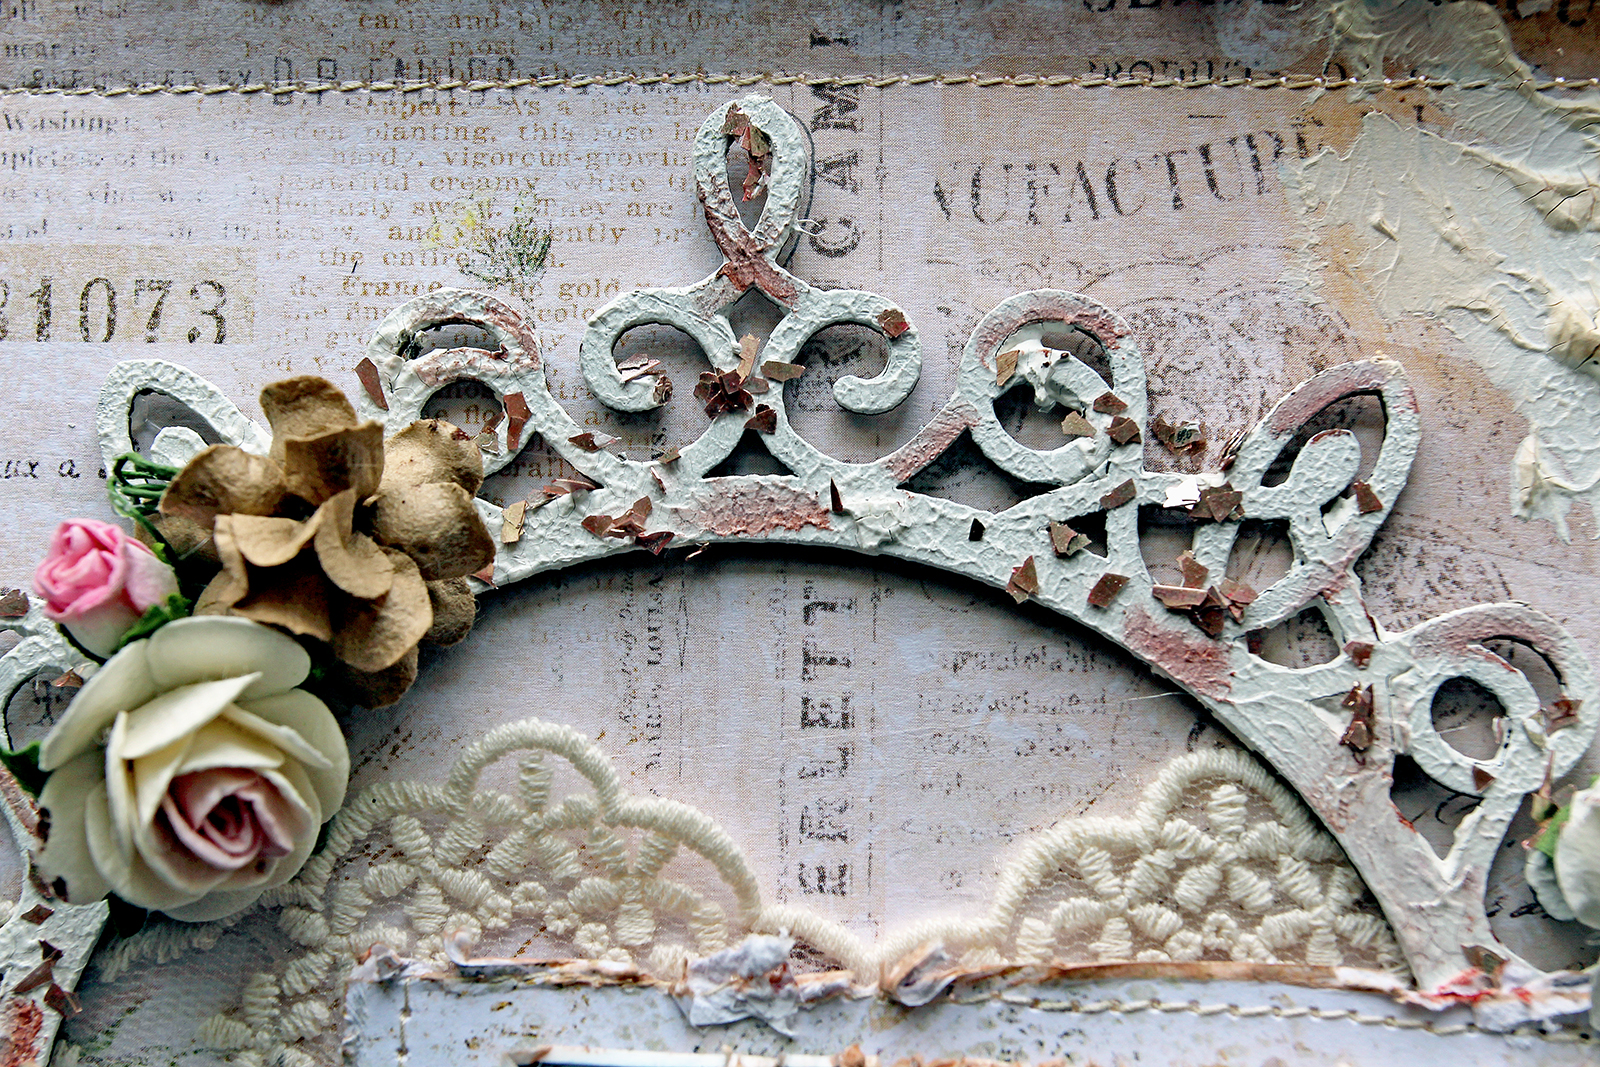
Altered Dangles Border with a bit of sparkle.
Lots of fussy cut details again.
And here is the start to finish video for this project. Sit back and enjoy!
Blue Fern Studios products used:
Today I'm popping in to share my June creations for Blue Fern Studios, featuring another beautiful collection from Michelle Singh - Attic Charm! The papers are decked in so many gorgeous subtle details and pretty colors, not to mention reminders of the good ole days that I went to dig out old photos of my parents for the two projects I've made.
First is a layout of a photo of my folks when they were dating back in '73.

When I saw the b/w photo, I had tried to imagine what it would have looked like in color and all that came to mind was the blue sky. So I had built most of the layout around the color and chose the paper "Haberdashery" as my background paper.
More details in the close-ups:

Some bits of the Looped Frame chipboard here. I had stamped with Romantic Accents stamp and heat embossed with Imagine Ink Ebony EP before painting over with duo-toned acrylic paint.

Fussy cut flowers for layering, and subtitles from Calling Cards.

A heat-embossed image with Ebony EP using one of the Bourbon Street stamps. Love the details here!

Another view of the floral cluster.

My title piece "Always and Forever" which I had painted with Perfect Pearls.
Blue Fern Studios products used:
paper: Attic Charm - Haberdashery, Calling Cards, Generation, Mercantile, Sachet
chipboard: Looped Frames, Always and Forever
stamps: Bourbon Street, Romantic Accents
Embossing powder: Ebony
My second project is a video tutorial and I've repurposed an IKEA photo frame for the project. My parents don't have a lot of their photos on display so I hope they will find a good place to put this up.

The Dangles Border chipboard was a fun piece to use because it resembles lace. I had also die cut out a clock from the "Sachet" paper. One fabulous thing about Blue Fern's papers (and my students keep reminding me too) is that they are thicker than most other brands of patterned paper out there. This means that if you have delicate die cut designs, the paper is very unlikely to tear and can take the weight of any other mediums you might want to add.
Other details in the close-ups:

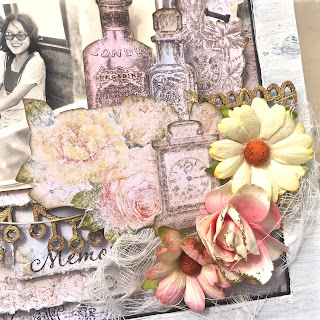
Attic Charm daisies are the perfect addition.

Layering Stems - one of my favourites! Seen together with Attic Charm daisies and glitter roses.

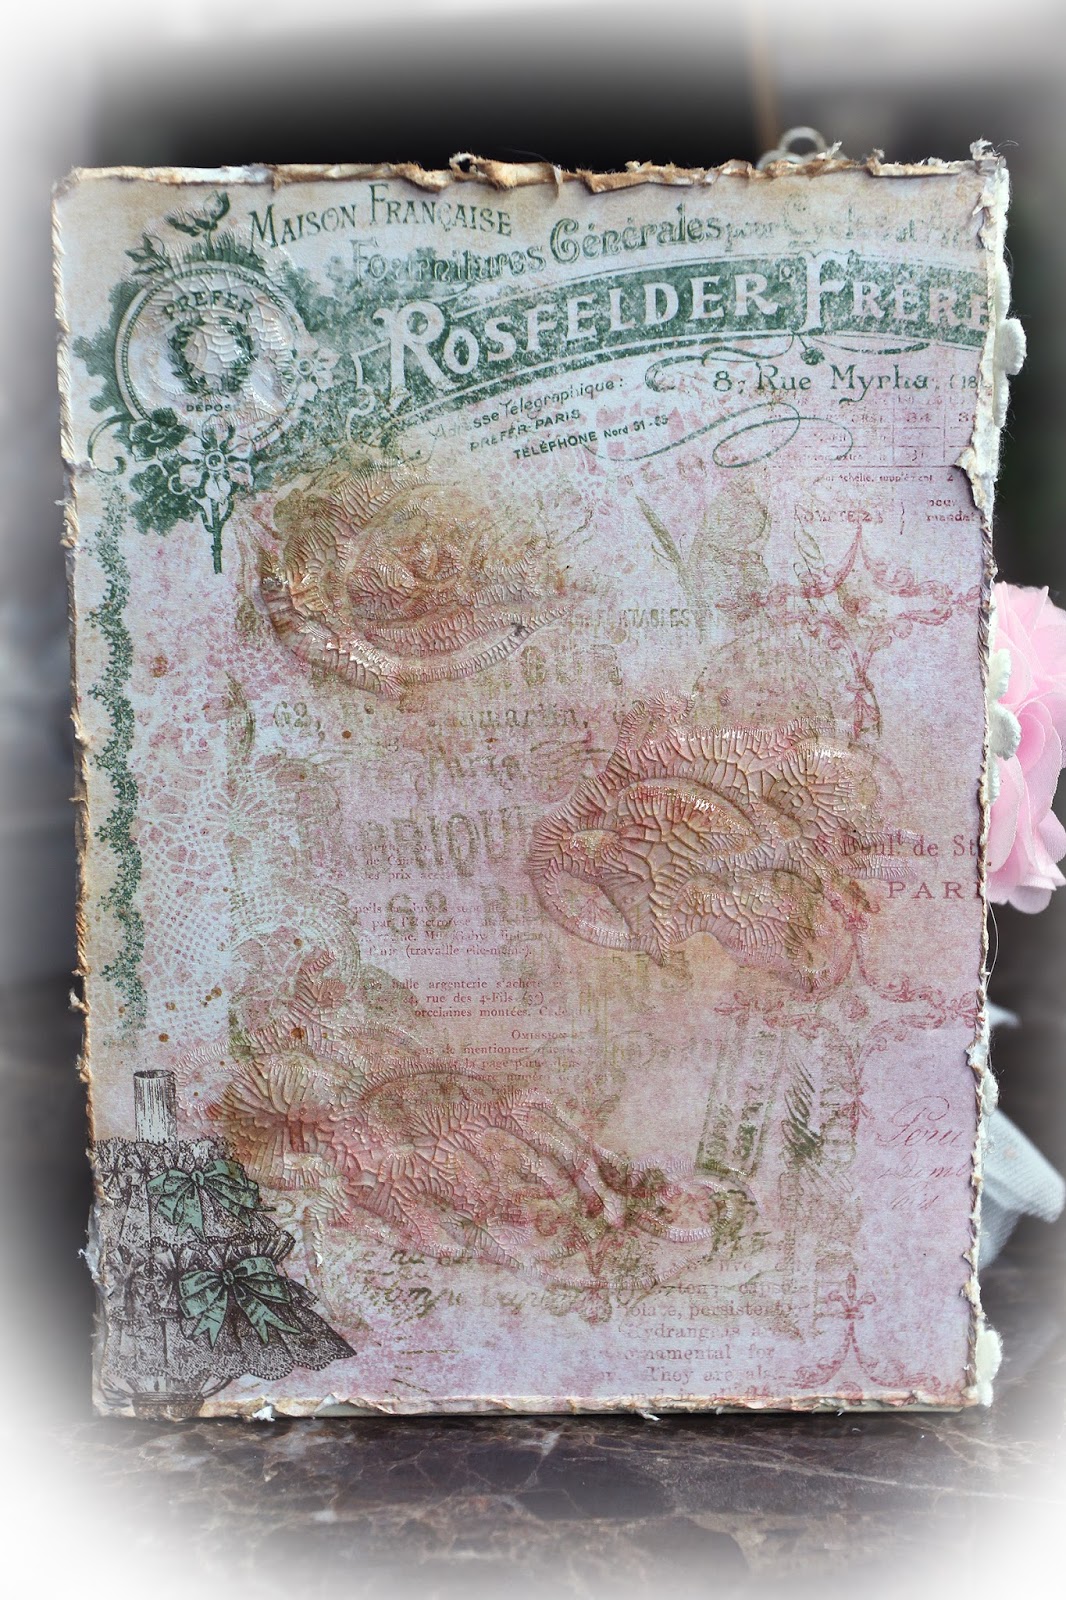
The die cut clock with lots of details in the background.

Altered Dangles Border with a bit of sparkle.

Lots of fussy cut details again.
And here is the start to finish video for this project. Sit back and enjoy!
paper: Attic Charm - Generation, Sachet, Calling Cards, Attire
chipboard: Dangles Border, Layering Stems
Stamps: Romantic Accents set
Embossing powder: 14 Karat, Clover, Verdant